This chapter walks you through steps to enable base I/O video graphics arrary (VGA) on an SGI Altix UV 100 or an SGI Altix UV 1000 system.
To enable base I/O VGA, perform the following steps:
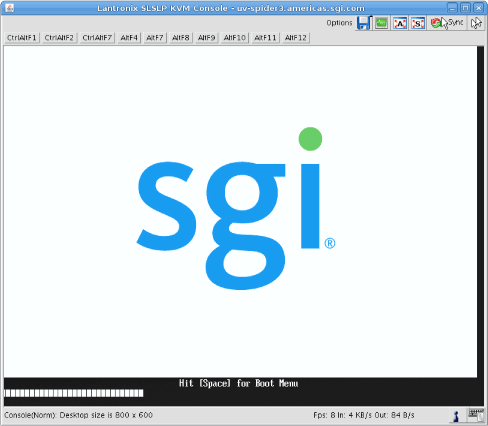
From the SGI XVM Console, as shown in Figure 2-1, hit [Space] for the Boot Menu.
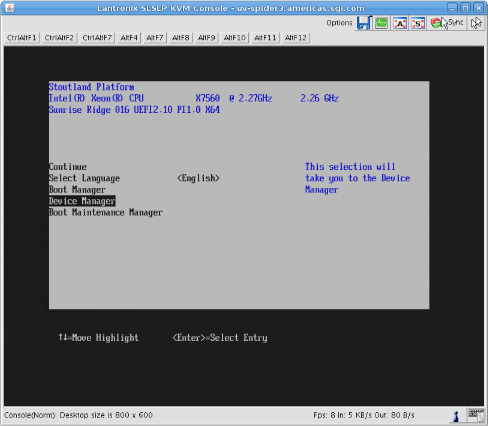
From the boot manager screen, select Device Manager, as shown in Figure 2-2.
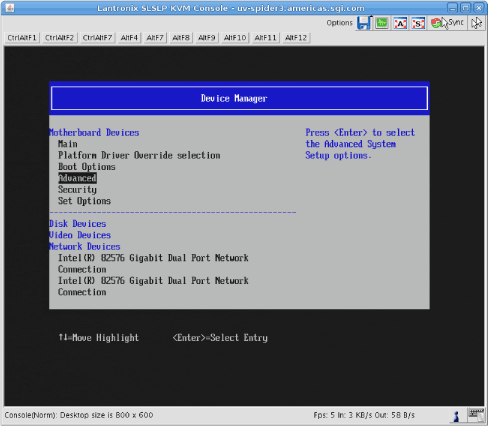
From the Device Manager screen, as shown in Figure 2-3, select Advanced.
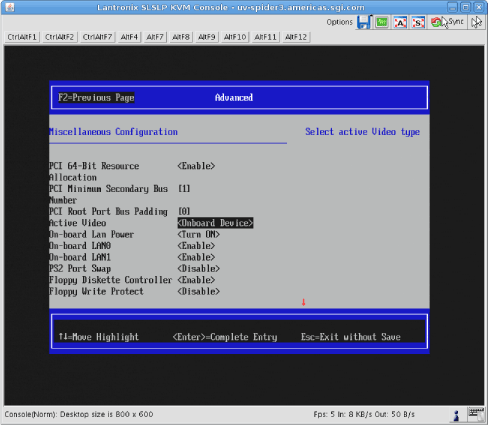
From the Advanced screen, select Miscellaneous Configuration, as shown in Figure 2-4.
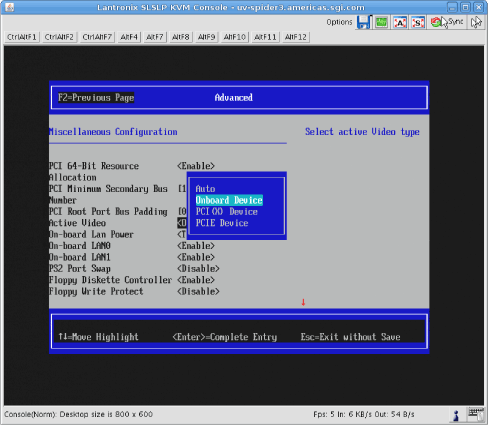
From the Miscellaneous Configuration screen, as shown in Figure 2-5, for Active Video select <Onboard Device>.
From the Active Video pop-up menu, select Onboard Device, as show in Figure 2-6.
Save your configuration changes, exit KVM, and reboot your system.
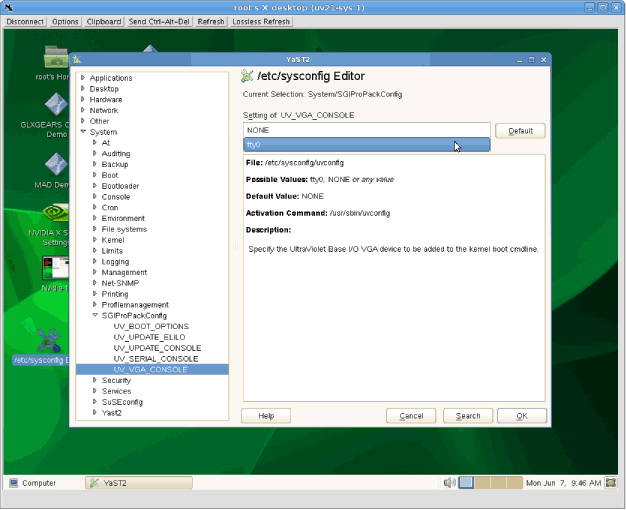
Launch the YaST2 System Configuration Editor shown in Figure 2-7.
Specify that the Altix UV base I/O VGA device be added to the kernel boot cmdline, as shown in Figure 2-8.
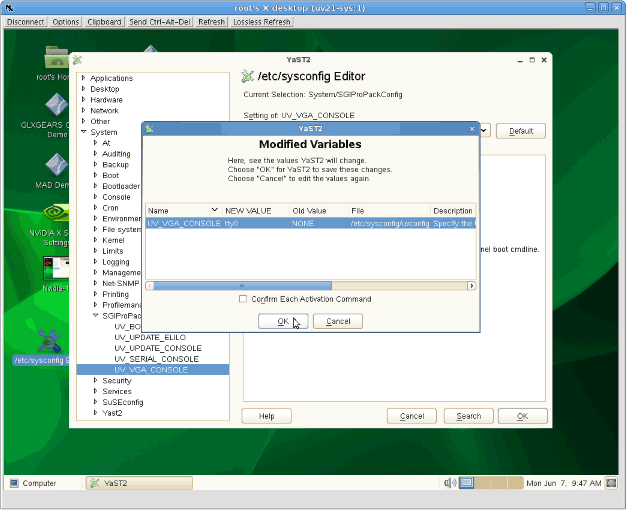
When the Modified Variables screen appears, as shown in Figure 2-9, click OK to save your changes.